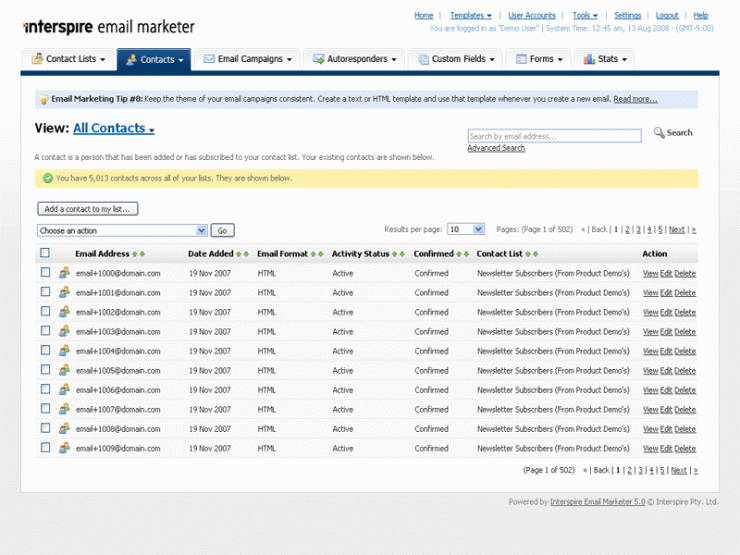
I am going to show you step by steps process with previews on how to install interspire on digital ocean. The steps would be mostly same for other vps as well
We will use CentOs for this purpose. I hope you know what interspire is used for. If you don’t then here is a small intro for it. Inter-spire is basically a php based code which does the job of bulk email sending means when we upload html template and a list of emails it mails them one by one.
Do you know why we can’t just mail all the user keeping them in bcc?
Simple google or any email provider will immediately mark you as a spammer, why ? Have you seen any sane users using random emails keeping one template and mailing then via bcc. It’s clearly a sign of someone using their servers to send cold emails and even there is no way of adding unsubscribe button when you do such bcc kind of emails.which is also against the policy when bulk emailing. Once or twice they will let go but if they find a pattern which they always do they will show spam door to all ur emails.
Here interspire,mumra and many such software comes into play you can create email list and add a template , The intersprire will add unsubscribe buttons and add appropriate header and then send emails one by one thus help us in tracking open rate as well as bounce rate. You only need to enter you smtp server details and that’s all.
First you would require a digitalocean account which if you don’t have you can create directly from this DigitalOcean SignUp
Signup is free and we would require few dollar to get started i added $5 to show you guys how its done.
Now let get started , First you create a droplet which is nothing but a vps.

Let now select the OS which we would like our vps to have

Select basic which is max $5 plan , The concept of billing is like if you used this vps for 24 hours by 30 days then only you will be charged $5 . I just use a vps when i have to test code or to send cold emails , You could also use this vps to host a website which can handle 50 users at max, This has 1GB ram which is good for single site , Its up to u if you like to switch. for better performance
Anyways let stick to the topic,

Select your closest data center 
Enter the password ,

That is it click on create droplet and bingo you have created a vps a.k.a Droplet

Once you clikc on create droplet , you would see the below image which gives you the ip address of the vps . If you are going to use this for email verification then do check if the ip is not in the spam list https://talosintelligence.com/reputation_center/

Now you would be requiring a SSH software to connect to this vps just visit the link and https://www.bitvise.com/download-area
and download bitwise ssh client and open it then enter the ip address which you got in prev step here set the username as root then click on login.

Accept And Save then

Now enter the password which we created when creating the droplet

Now after you login you will see 2 windows beign opened one is a terminal and other would be a filemanager like show below.


Now let us install php and mysql which is required to run interspire or any php based website like wordpress.
First you need to Download Interspire if you want to use this server for email marketing Download
Note the password for the above downloaded file is ricomart.com
First just paste this command into terminal
sudo yum updateThis will update the system just type in Y if its ask for anything , This is just like windows update for Cent OS.
Now lets install a light weight server management software this is same as Cpanel which you must be aware of , for any prompt press Y and follow the basic things asked.Note if going to use the server hosting for mailing purpose or as a website make sure you keep you domain name ready as you will have to provide that when asked about FQDN , Rest of the answer to the prompt are pretty simple
curl -O http://vestacp.com/pub/vst-install.sh
 bash vst-install.sh
Make sure you add this ip address as a A record in your dns setting page provided by your nameserver
Mine looks like A www 104.131.88.95 leave the default TTL
Now when someone types in you domain name they will be forwarded to this ip address. The above command take 15-20 minutes depends on server & network speed. After this all is done you open the ip address in your browser with the username and password provided in the end like show below,

Login as per the credentials provided

I am going to use the server to host a website which by the way is now done , You only have to upload the wordpress files to the folder /home/admin/web/your_enter_url.com/public_html and rest of the thing are pretty simple like adding of db and then configuring your wordpress config file with new db details that you have created.


